中文(繁體字)
 English (international)
To get the best performance from your mill drill it’s worth spending a bit of time setting it up correctly
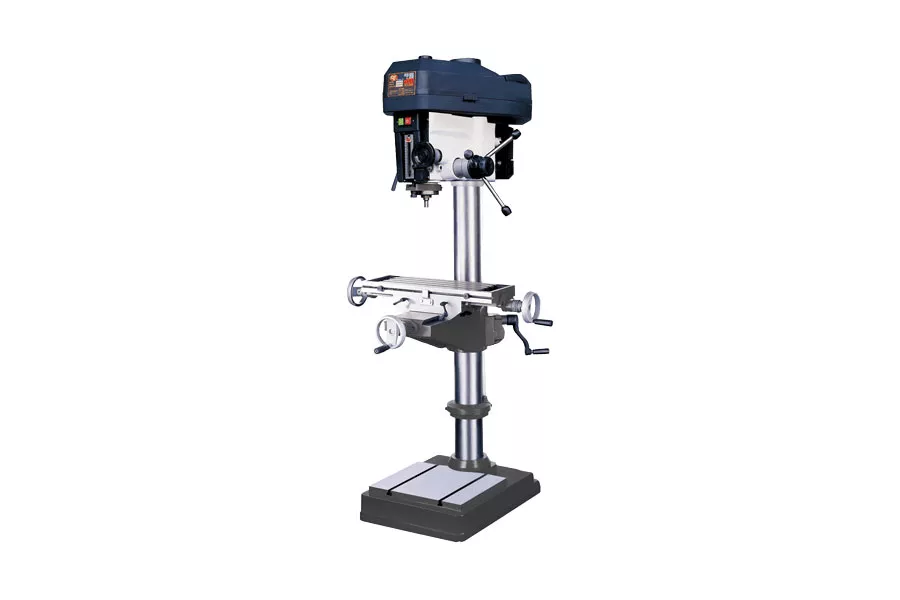
Table of Contents
The basics
There are five basic steps to setting up your mill drill machine, if you follow these steps you will be ready to start using your mill drill for standard drilling and milling operations, and might save yourself a lot of time and trouble later on!
- Cleaning and degreasing
- A steady and stable foundation – on a stand or bench
- Leveling your mill drill
- Check powering and starting procedures
- Check headstock alignment
1. Cleaning and degreasing
Your new mill drill may need cleaning, degreasing and lubrication before you start working with it. Some machines come from the factory with protective coatings and heavy grease on components to keep them corrosion free during storage and transit. These will need to be removed and the machine lubricated according to the instruction manual before you proceed.
2. A steady and stable foundation – on a stand or bench
Your mill drill needs to be securely mounted. If it is a free-standing mill drill then it should be mounted on the dedicated stand that comes with it. It is usually best to bolt the stand to the floor as mill drills tend to be top-heavy and this will reduce the risk of it toppling over. A flat poured concrete floor makes the best base.
A benchtop mill drill will need to be fixed to a workbench at a comfortable working height before you start using it. The workbench needs to be stable, solid, and heavy enough to not move when the mill drill is operating. A suitable bench top should be at least 1½” thick.
3. Leveling your mill drill
Use a level to check the milling table in both the X-axis (left to right) and Y-axis (front to back). If your mill drill is bolted to the floor using the manufacturer’s stand, you can use shims under the feet to make leveling adjustments. If the mill drill is mounted on a workbench you can place shims under the base casting to make it level.
Machining accuracy with a mill drill is not dependent upon leveling, unlike many other machines (for lathes it’s very important that they are completely level). The reason to make sure your mill drill is level is to avoid damaging the base when you bolt it down. When you tighten the hold-down bolts you will bend and distort the base or stand if it is not on a level surface.
4. Check powering and starting procedures
Before you start your machine you must check the manual for power and starting procedures, including the requirement for safety guards and features to be in place and activated before starting the machine.
Most machines will not start without all safety equipment properly installed and in place. If you haven’t read the manual you might think your mill drill is faulty when you’re trying to start the machine with a guard out of place.
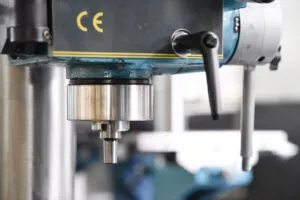
5. Check the manual for tool installation procedures
This might seem pretty obvious, but it’s easy to overlook and can cause damage to your machine or insecure tool fitting. Even if you think you are completely familiar with the type of chuck or inserts used on your mill drill it’s best to check this in the manual.
You might find your mill drill comes with a shell mill arbor, if you haven’t used one of these before it’s worth checking it out – there may be a shell cutter that is perfect for a job you have in mind. Shell cutters come in many different configurations for different tasks, and are usually found on more powerful machines.
6. Check headstock alignment

As shipped, the headstock will probably be perfectly aligned vertically for drilling, but you should check the alignment anyway for accurate milling, as this requires very precise alignment for the best results. Refer to the manual for how to do this. Most headstocks are secured by three nuts placed 120 degrees apart – one underneath and one on each side.
The tilt scale on a headstock is usually good for coarse alignment accuracy, but if you need absolute precision you will need a dial indicator and a suitable holder installed in the spindle to test against tilt on either side of the x-axis.
Start using your mill drill!

This has been a guide to the basic setup of your mill drill to get you started. There are many detailed adjustments and refinements you can make to optimize your mill drill. Some of these may be covered in your instruction manual, others take more time to perfect – including indicating the vise and how to use optional accessories and tools to make the most of your mill drill. We will be covering these in future articles!
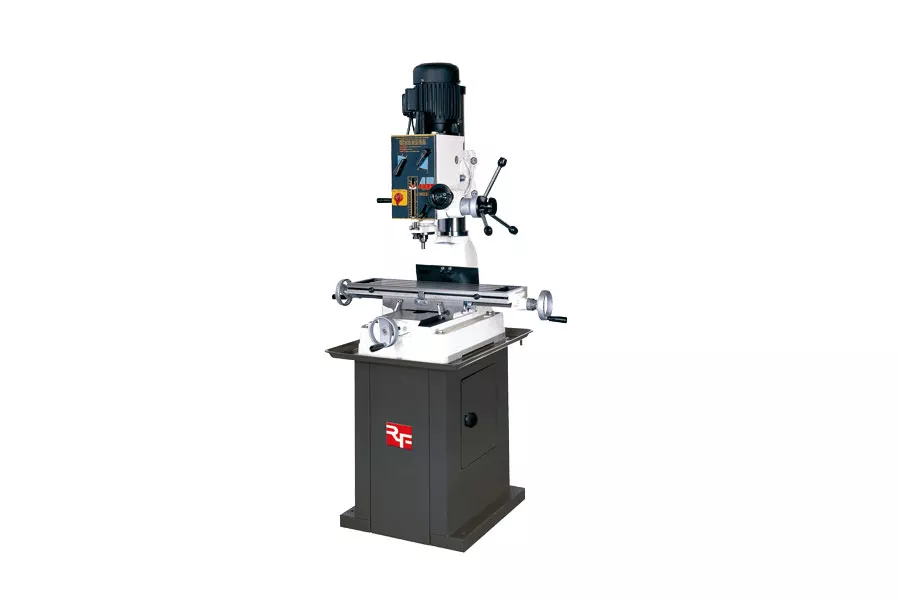
Rong Fu Mill Drill Machines

The quality of a mill drill machine depends on the expertise, experience and quality management systems of the mill drill machine manufacturer. At Rong Fu we have 50 years of experience in manufacturing mill drill machines.
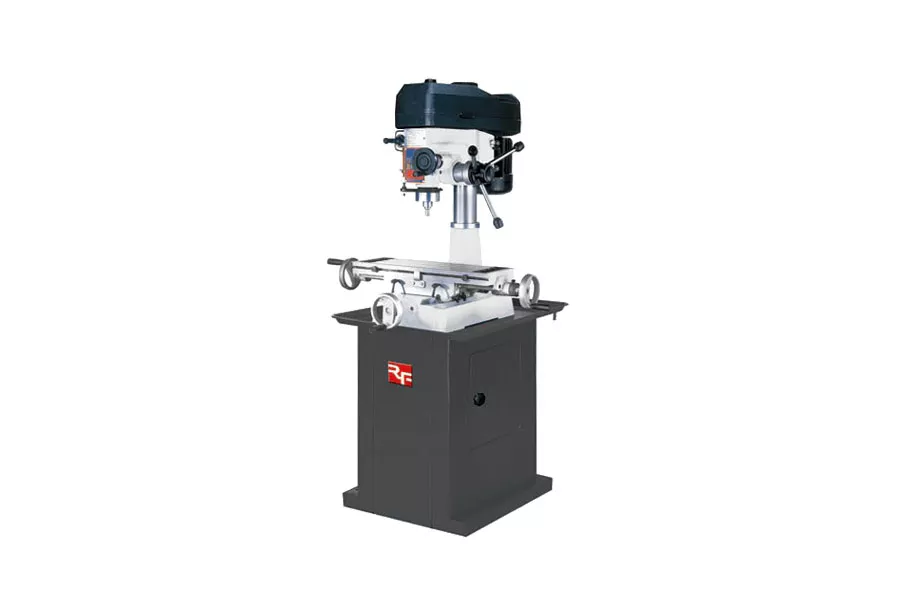
We are a vertically integrated company, so all stages of mill drill machine design, manufacture, quality control, customer service and support are carried out in-house by our experienced and very responsive team.
Our quality credentials are demonstrated by our ISO9001 compliance. Rong Fu products are designed and built to meet global standards, including European CE certification. All our mill drill machines are tested and calibrated before shipping to be ready to run ‘out of the box’ for maximum customer confidence and convenience.