中文(繁體字)
 English (international)
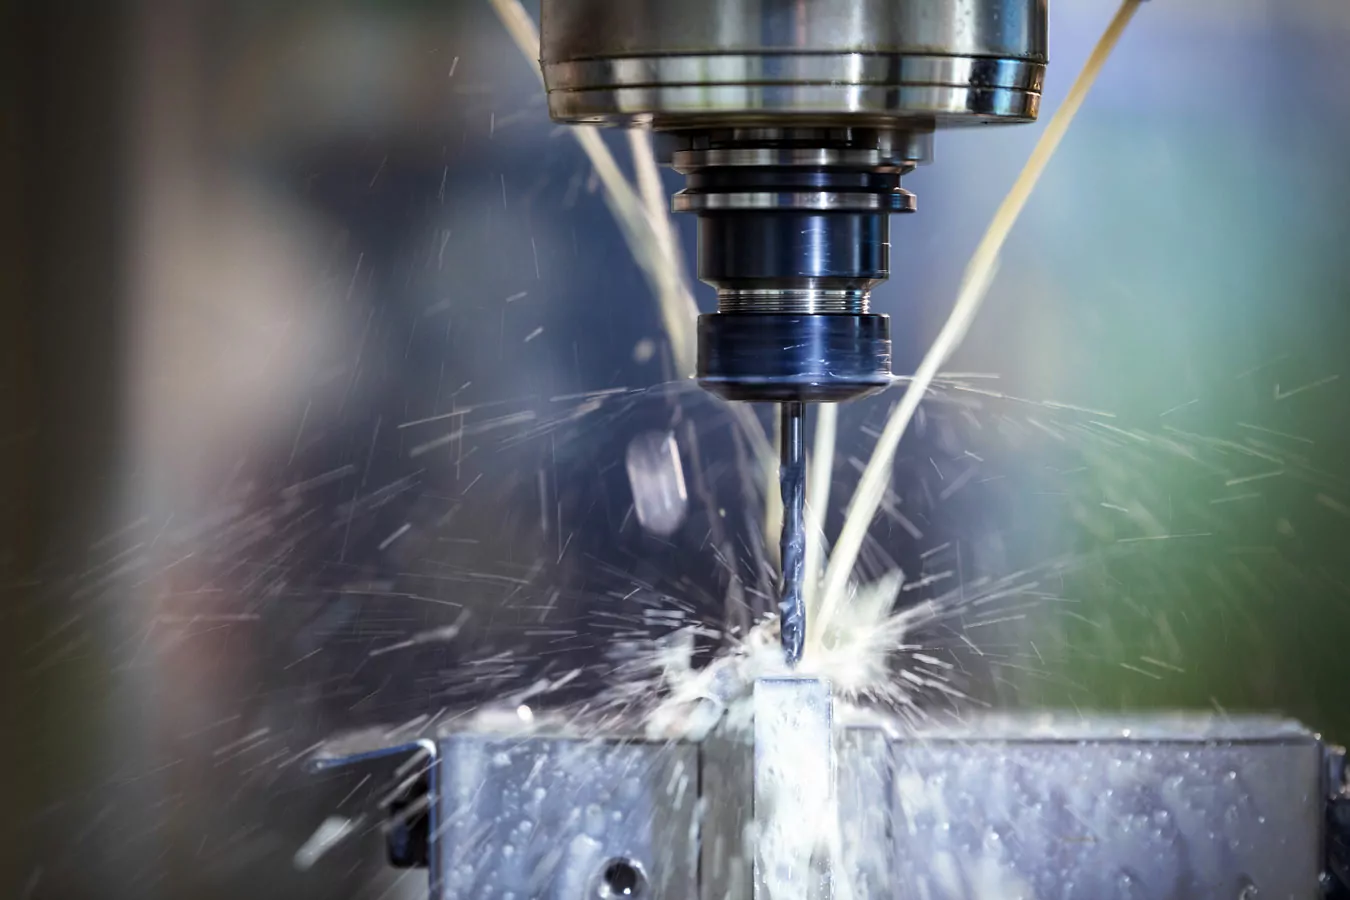
Clamping stock in your mill drill is vitally important for getting good results from any milling or drilling task. Let’s find the best ways to do it.
Mounting Your Work
To get the best out of your mill drill machine you need an efficient and secure method of holding your workpieces to the milling machine table. Did you know there are six ways of holding your workpiece ready for drilling or milling?The six ways of mounting your work in a mill drill machine
Table of Contents
- Clamping a workpiece to the table
- Clamping a workpiece to the angle plate
- Clamping the workpiece in fixtures
- Holding a workpiece between centers
- Holding the workpiece in a chuck
- Holding the workpiece in a vise
The Two Golden Rules Of Clamping Your Workpiece
There are two golden rules that you have to follow whenever you are mounting your work to make it ready for milling or drilling:
- The workpiece must be secured so it can’t spring out or bend away from the cutter
If the tension on the workpiece from clamping is uneven or it is a very thin piece of stock, it can bend under clamping pressure. This can cause it to spring out of the clamp under the pressure of milling or drilling. This can cause injuries, and damage to your equipment.
- You have to make sure the positioning of the workpiece enables you to machine it correctly
It doesn’t matter how well you clamp your workpiece, you have to make sure you can reach it and do the cutting tasks you need to do, so when clamping always check that you are clamping the workpiece in a location where there is enough travel and space for the cutting tool to reach the parts you need to cut!
What are T-Slots for?
Milling machine worktables normally have several T-slots that can be used either for direct clamping and location fixing of the workpiece on the table or for attaching different types of holding device or attachment that can be used for mounting your work.
T-Slots extend for the full length of the table, parallel to the direction of travel of the table. If you look at the design of most milling machine vises, index fixtures, and other attachments, you’ll see that they usually have tongues or keys on their bases to enable you to locate them securely and correctly in the T-Slots.
Eight safe working requirements when using a mill drill machine
- Don’t wear loose clothing that can get caught in moving parts
- Wear safety glasses and protective gloves
- Carry out basic checks on your mill drill machine before you use it
- Double check the tool size is correct before starting work
- Turn off and disconnect your mill drill before making adjustments, clamping stock or changing tools
- Keep your mill drill clean and your work area tidy
- Make sure you fit your cutting tools correctly
- Troubleshoot any problems with your mill drill machine before starting a new job
Six Methods Of Mounting Your Work In Your Mill Drill Machine
Lets go back and look at how you mount your work in your mill drill machine in more detail. Remember there are six ways to do this. We’ll look at each in turn and offer some tips on how best to do each one. Sometimes you might even combine more than one method, like in the photo above!
1. Clamping a workpiece to the table
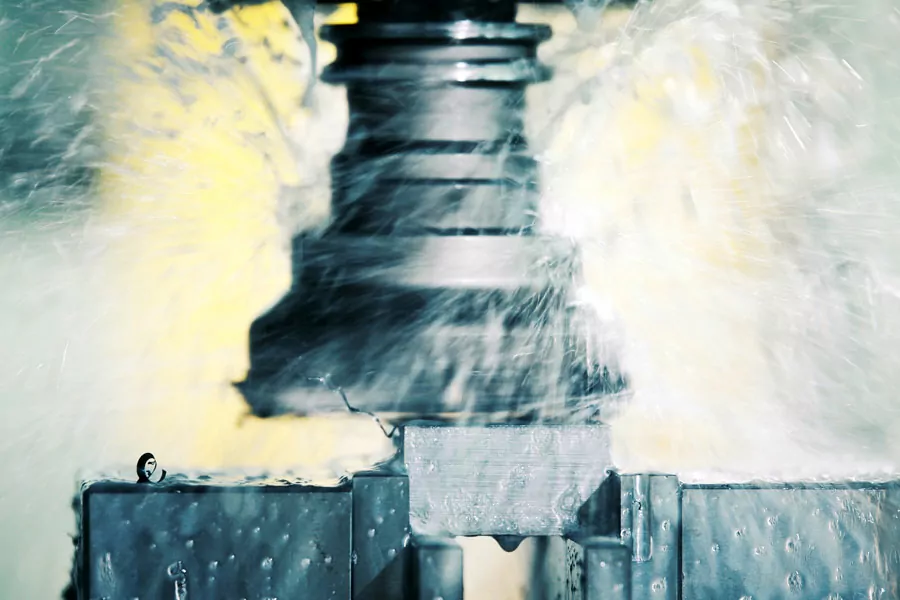
If you’re going to clamp a workpiece directly to the table it’s important to protect the table from damage while you are milling or drilling. Workpieces that have smooth finishes and machined services can be clamped to the table directly as long as you have no cuts that will go through the workpiece and into the table.
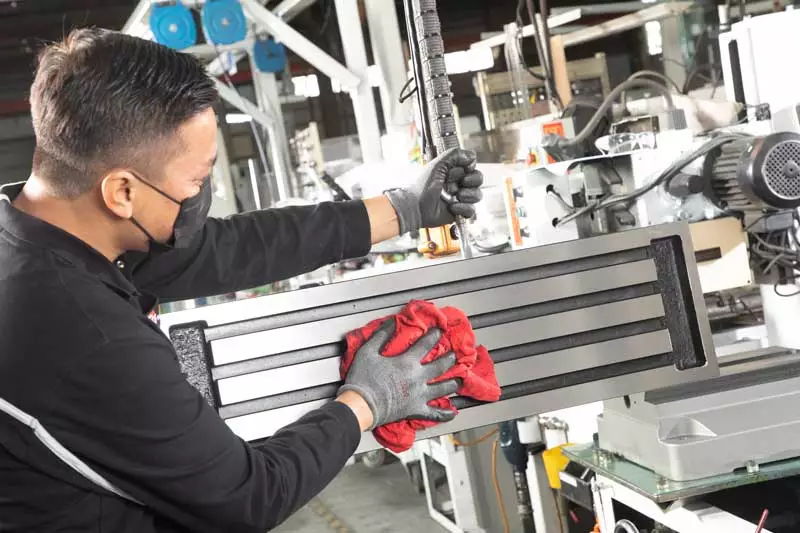
Clean the table
Make sure you clean the table and workpiece to ensure they are free of dirt and metal fragments, burrs or shavings from previous work. Even very small imperfections will make the workpiece uneven and scratch or dent the workpiece and the table.
Protect the table
If you are clamping a workpiece with a rough, unmachined finish direct to the table you need to protect the table by putting a sheet of smooth material between the workpiece and the table. Plywood, sheet metal, and even paper, can all be used for this purpose.
Clamp both sides
Clamps should be located on both sides of the workpiece to increase the area of the bearing surface, which increases the clamping force. The clamps are held in place by T-slot bolts inserted into the T-slots milled into the table.
Clamp to the height of the workpiece if possible
Make sure clamp supports are the same height as the workpiece, never lower. Adjustable step blocks enable you to raise the clamps and adjust the height to ensure excellent clamping pressure. If the clamps are lower than the top of the workpiece there is a danger that you might spring the workpiece when you are cutting it.
Clamping bolts should be close to the workpiece
Place clamping bolts as near to the workpiece as possible. This will give you the highest clamping force. If you have to clamp an overhanging part, then place a support between the overhang and the table to prevent breakage or springing.
Use a stop when making very heavy cuts
A stop should be clamped in place at the end of the workpiece to absorb the thrust of the cutter when you are making very heavy cuts. The fundamental rule is to ensure that the workpiece cannot be accidentally cut through or sprung out of its clamped position.
2. Clamping a workpiece to an angle plate
Angle plates are used to enable machining parallel, at an angle, or perpendicular to the table surface. You should take the same precautions that apply when clamping your work directly to the table. Angle plates are held in alignment using tongues or keys fitted into the T-slots in the table and may or may not be adjustable.
3. Clamping the workpiece in fixtures
You will often find fixtures are used in production work when you need to machine a number of identical pieces. Fixtures are designed to suit the shape of the piece and the cutting operation being carried out.
Fixtures enable maximum clamping pressure and are designed to be easily fitted. Setup time is reduced by using a minimum range of clamps or bolts, and these should be provided with keys to enable the fixture to be rapidly and securely aligned and clamped in the table T-slots.
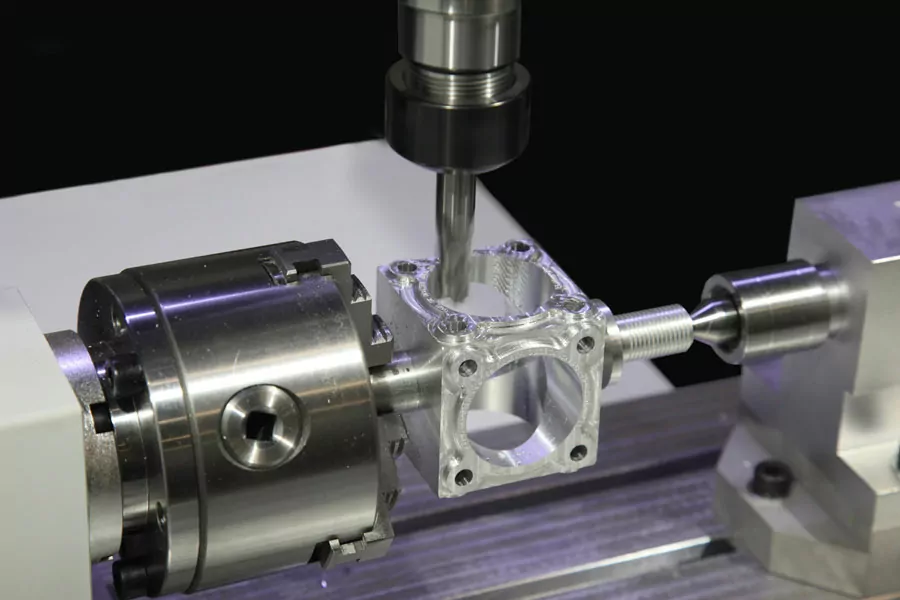
4. Holding a workpiece between centers
If your workpiece is centered at each end then, an indexing fixture is used to support it. If the stock has been previously reamed or drilled, it can be pressed onto a mandrel and mounted between the centers.
There are two types of mandrels used to mount workpieces between centers. Solid mandrels work well for most operations, and a mandrel with a shank tapered to fit the index head spindle can also be used. A jackscrew is used to stop long thin workpieces springing out from between centers or to stabilize them if they extend a long way from the chuck.
Workpieces mounted between centers are fixed to the index head spindle by means of a lathe dog. The bent tail of the dog is fastened between the set screws in the center clamp to remove backlash and stop the mandrel from springing.
5. Holding the workpiece in a chuck
There are three procedural steps for successfully clamping your workpiece in a chuck. You should follow these every time you use a chuck to do this.
a. Clean the chuck thoroughly
If you are attaching the chuck to an index head spindle, make sure it is clean and remove any burrs with a smooth-cut, three cornered file or scraper. You can clean threads with a piece of spring steel wire bent and formed to fit the angle of the threads.
b. Clamp lightly
Be careful not to overtighten the chuck, it should not require a wrench to open it. Overtightening the chuck can damage both the chuck and the workpiece. Thin stock can easily be bent or sprung in a chuck if overtightened.
c. Check for trueness
Cylindrical workpieces clamped in a chuck can be checked for trueness using a test indicator mounted to the milling machine table. The indicator point should contact the circumference of small diameter workpieces, or circumference and exposed face of larger workpieces. Revolve the workpiece by rotating the index head spindle to check it against the indicator point.
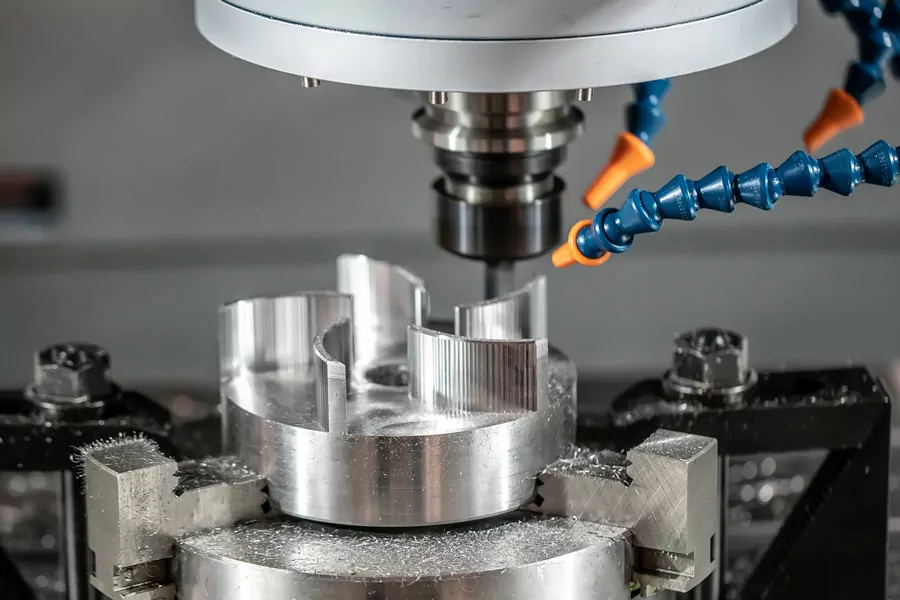
6. Holding the workpiece in a vise
There are four types of vises used on mill drills for clamping work. All will have tongues or locating keys under their bases so they can be located correctly in the T-slots on the mill drill machine table.
a. Plain vise
The plain vise is fastened to the milling machine table and aligned by two slots at right angles to each other on the underside of the vise. Removable keys fit in the slots to align the vise with the table T-slots either parallel or perpendicular to the machine arbor.
b. Swivel vise
Swivel vises have a base with a scale graduated in degrees that is fastened to the milling machine table and aligned with keys placed in the T-slots. By loosening the bolts which clamp the vise to the base, it can be rotated to hold the workpiece at any angle in a horizontal plane.
To set a swivel vise accurately with the machine spindle, a test indicator should be clamped to the machine arbor and a check made to determine the setting by moving either the transverse or the longitudinal feeds, depending upon the position of the vise jaws. Any deviation as shown by the test indicator should be corrected by swiveling the vise on its base.
c. Universal vise
The universal vise is used to hold work at compound angles, either horizontally or vertically. The base of the vise can rotate 360 degrees in the horizontal plane and 90 in the vertical plane. Universal vises are not as strong as plain vises and are not usually a good choice for heavy duty milling.
d. All-steel vise
The all-steel vise is the strongest option. The workpiece is clamped close to the table, and the vise can be used to securely hold forgings, castings, and rough-surfaced workpieces. The jaws can be moved to different locations on the two bars to fit different shapes and sizes of stock.
Five best practice tips for clamping workpieces in vises
1. Rough workpieces
When rough or unfinished workpieces are to be vise mounted, a piece of protecting material should be placed between the vise and the workpiece to eliminate marring by the vise jaws.
2. Positioning above the vise jaws
When it is necessary to position a workpiece above the vise jaws, parallels of the same size and of the proper height should be used. These parallels should only be high enough to allow the required cut, as excessive raising reduces the holding ability of the jaws.
When holding a workpiece on parallels, a soft hammer should be used to tap the top surface of the piece after the vise jaws have been tightened. This tapping should be continued until the parallels cannot be moved by hand. After the workpiece is set, additional tightening of the vise should not be attempted, as such tightening has a tendency to raise the work off the parallels.
3. Clamping at the end of the vise
Whenever possible, the workpiece should be clamped in the center of the vise jaws. However, when necessary to mill a short workpiece which must be held at the end of the vise, a spacing block of the same thickness as the piece should be placed at the opposite end of the jaws. This will avoid strain on the movable jaw and prevent the piece from slipping.
4. Clamping very thin materials
A thin workpiece shouldn’t extend over the top of the vise, so hold down straps made of hardened pieces of steel are used. One vertical side is tapered to form an angle with the bottom side and the other vertical side tapered to a narrow edge. The tapered surfaces force the workpiece down into the parallels, holding it firmly but leaving the top of the workpiece fully exposed to the milling cutter.
Rong Fu Mill Drill Machines
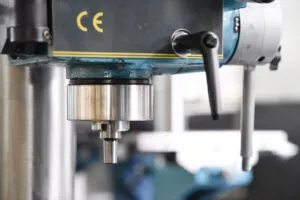
The quality of a mill drill machine depends on the expertise, experience and quality management systems of the mill drill machine manufacturer. At Rong Fu we have 50 years of experience in manufacturing mill drill machines.
We are a vertically integrated company, so all stages of mill drill machine design, manufacture, quality control, customer service and support are carried out in-house by our experienced and very responsive team.
Our quality credentials are demonstrated by our ISO9001 compliance. Rong Fu products are designed and built to meet global standards, including European CE certification. All our mill drill machines are tested and calibrated before shipping to be ready to run ‘out of the box’ for maximum customer confidence and convenience.