中文(繁體字)
 English (international)
How to sort out unexpected problems with your milling drilling machine
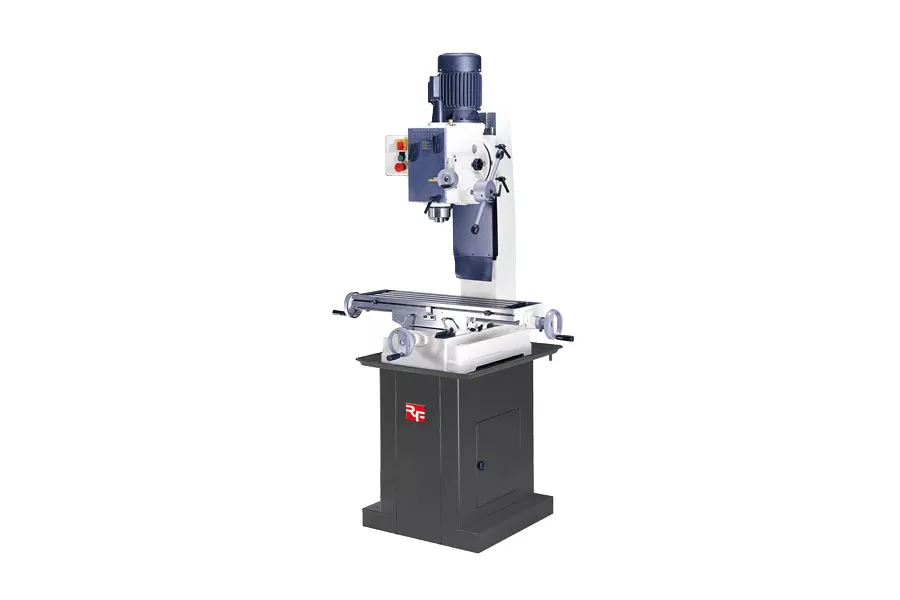
Table of Contents
How can you identify a machining fault?
- Fortunately most machining faults are easy to identify and correct!
- When you take it step by step you will find it easy to fix.
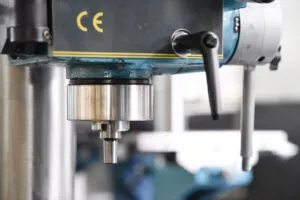
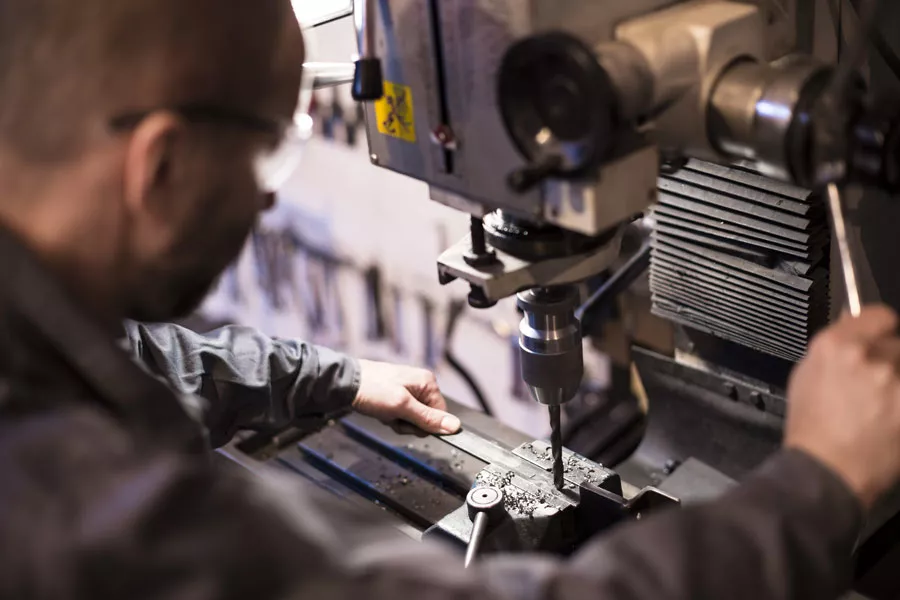
Milling drilling machines are versatile, with many features. When something goes wrong it can be hard to think where to start looking to solve the problem, but they all work in a similar way, and the machining problems you might discover are easy to identify.
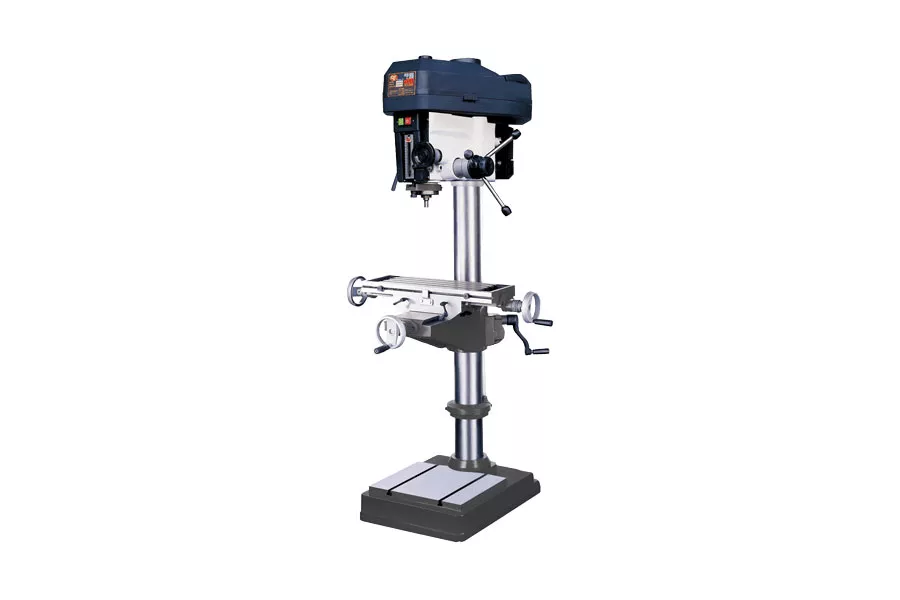
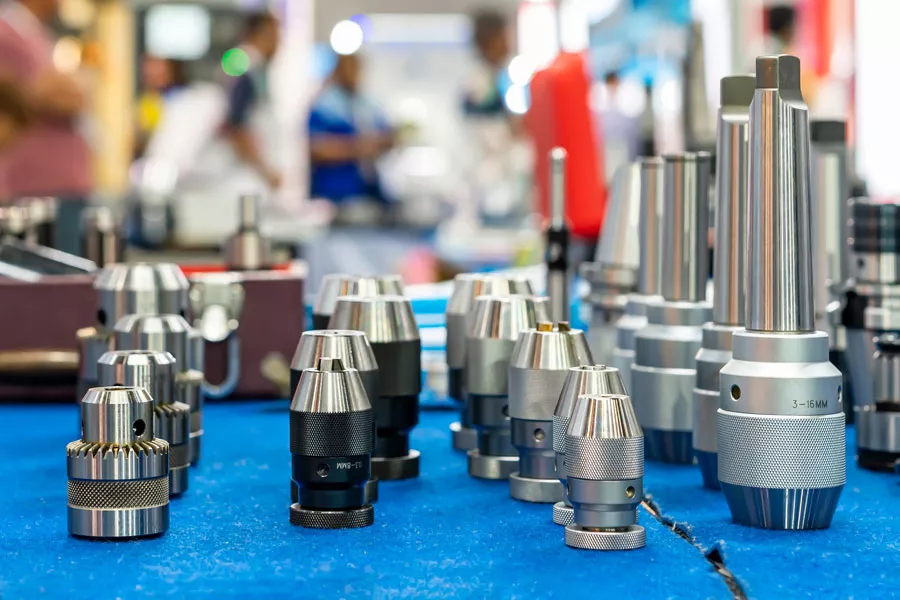
The main difference between milling drilling machines is if they are gear driven, like the bench type Rong Fu RF-45 pictured above, or belt driven, like the Rong Fu RF-400 below. You can get mill drill machines in bench type or floor mounted configurations, but they are all designed to do the same jobs.
If you look at our article on choosing a drilling machine or a mill drill, you can see that a mill drill is like a drilling machine with extra features and improved accuracy and strength to enable you to drill and cut at different angles, and to use the side of the cutting tool for finishing and face cutting work.
First Things First: Basic Checks For Your Mill Drill
There are three things you should check before anything else, as they are common causes of several different problems:
- Are you using the right speed setting?
- Is the cutting tool blunt?
- Are you using enough of the right cutting fluid?
1. Use the right speed setting
The wrong speed setting for the material and tool type can cause many problems, even breaking the tool. It will increase tool wear as well.
2. Sharpen or replace blunt tools
A blunt cutting tool will not cut properly, and can cause vibration and burning. If the tool is blunt, remove it and sharpen it, or replace it with a new one.
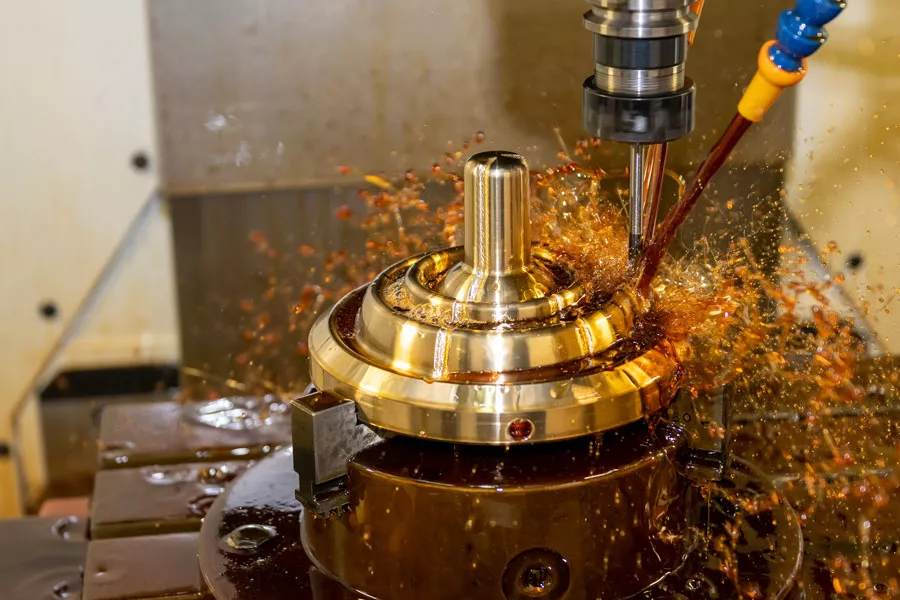
3. Use the right type and volume of cutting fluid
Improving the life of your tool and the quality of finish depends on using enough of the right cutting fluid, so always check these things before looking for other problems!
What are common mill drill problems you can fix yourself?
Your mill drill machine should make it easy to do clean cuts and drill perfect holes, so if it’s not doing this you’re not going to be happy with it. If it still isn’t cutting properly after you’ve checked the basics then don’t get too stressed. You can fix the most common problems quite easily.
The 5 Common Mill Drill Problems
- Machine won’t start
- Tool ‘burnt’
- Can’t get tool out of spindle
- Can’t fit tool into spindle
- Rough cutting / vibration
Problem 1: Machine Won’t Start
If you go to turn it on and nothing happens, there are three things you should check.
1. Is the power supply connected?
Check power supply is turned on. If you have an isolated power supply it may have been turned off at an isolator. If this is the case then before turning it on make sure you check the machine has not been isolated for repairs to a fault!
2. Are you following the specified starting sequence?
If the power supply is on check your manual to make sure you are following the correct sequence to start the machine. Some mill drills will have interlocks that will not allow you to start the motor if any of the safety guards are not in place, for example.
3. Are there any electrical faults?
If your mill drill still won’t start then check fuses. Remember that if a fuse has blown it might indicate a more serious problem, so you should consider an electrical check after changing fuses. if it still won’t run then turn the power off and have an electrician check the motor.
Problem 2: Tool ‘burnt’
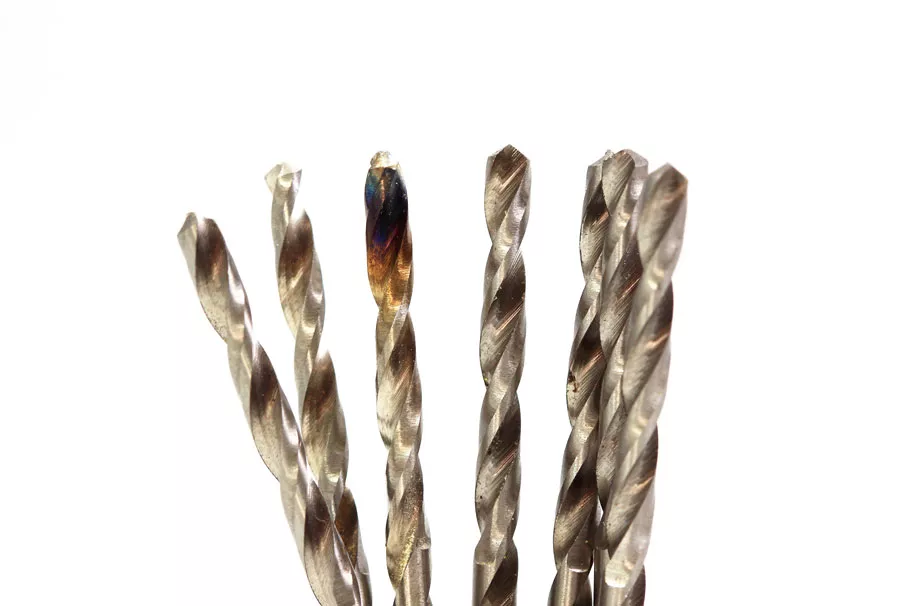
If the tool discolors, this is usually a sign of overheating the tool. The common causes of a ‘burnt’ tool include the basic checks we’ve already given – incorrect speed, not enough or the wrong type of cutting fluid, and a blunt tool. There are two other things you should check.
1. Are you using the wrong tool or wrong speed setting?
Some materials, like stainless steel, will work harden rapidly if you use the wrong tool or the wrong speed, making them much harder to cut. Ensure you use the right tool at the right speed for the material you are cutting and life will be much easier!
Work hardening: a serious problem that’s easy to avoid!
Many metals become harder when they are stressed by overheating due to friction during cutting. This increases wear on tools and adds the likelihood of burning tools and binding them in the cut. This is a particular problem with stainless steel alloys and some aluminum alloys. Overheating is caused by:
- using the wrong tool or blunt tools,
- trying to apply too much pressure during cutting
- cutting without enough pressure at high speed
- not using enough cutting fluid to keep the tool cool
Ensure you use the right tool for the job, that it’s sharp, and your feed rate and coolant flow are correct and you’ll be able to keep work hardening to a minimum!
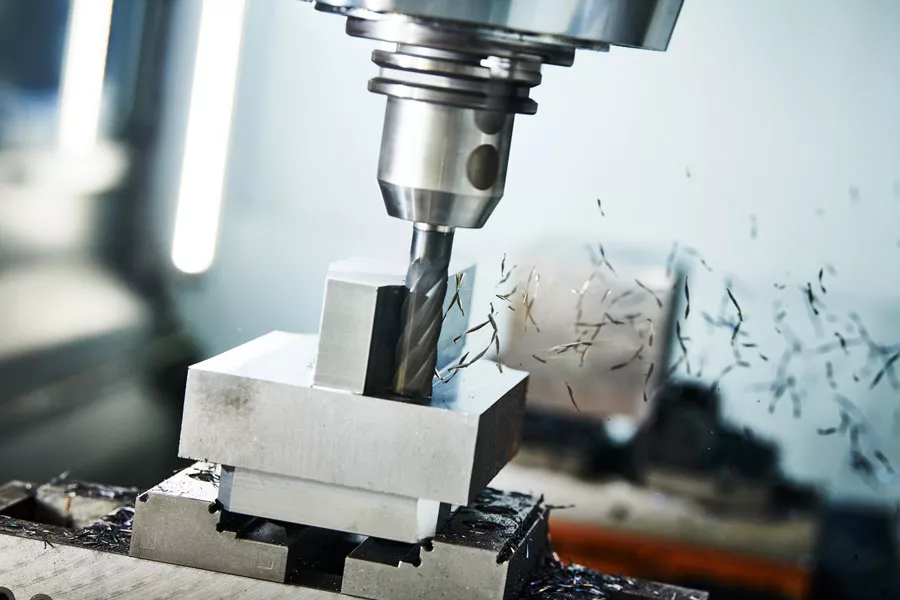
2. Are there metal chips in the cut
You can also burn a tool by not clearing the chips out of a hole if you are drilling or machining a vertical cut. Chips will get stuck in the tool and around the edge of the cut. Make sure to retract the tool and clear chips out of the hole frequently.
Problem 3: Can’t get tool out of spindle
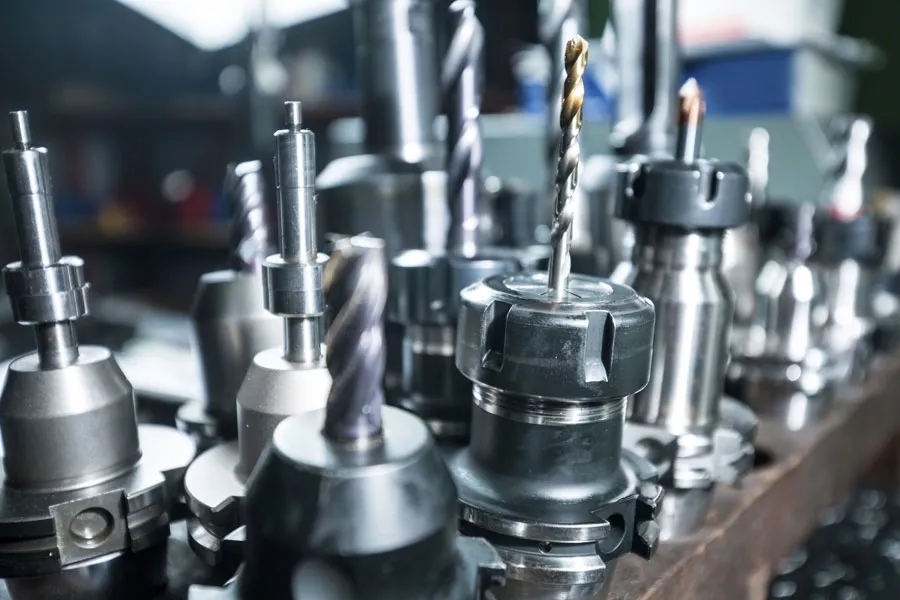
If you come to change tools and find it impossible to remove there are two things you should check.
1. Has the tool overheated in the spindle?
If the tool has been slipping in the spindle, or in a taper fitting, it can overheat and the expansion of metals will make it stick. If the tool will not come out when the machine is cool you might be able to get it out by running the machine at normal speed and doing some test cuts to warm it up. Then try removing the tool when it is hot. You can also apply heat (very carefully) to the spindle to try and free the tool.
2. Is the tool fitted correctly?
Normally a tool is difficult to remove because it has not been installed and tightened correctly – make sure you check the manual and manufacturer’s recommendations for fitting tools to reduce the likelihood of this happening! Keep the spindle clean to avoid getting grit or dirt into it, this can also make tools stick.
Problem 4: Can’t fit tool into spindle
If you can’t get the tool into the spindle, check the manufacturer’s instructions for fitting the tool,there are lots of different types, and you may have missed an obvious step! If you’re following the correct procedure then there are two other likely causes.
1. Is it the correct spindle / seat for the tool you’re using?
Check the spindle is the right size and specification for the tool, and if you have tapered seats make sure you are using the right one. The tolerances for fitting a tool can be very tight, and even if it looks like the tool should fit, a very small difference in specifications can make it impossible to fit it.
2. Is the spindle or tool dirty?
Check for dirt or grease in the spindle or on the tool. It’s surprising how little dirt or grease can stop a tool fitting properly. If there is grease in the spindle it can compress and stop the tool being inserted deeply enough to be tightened properly.
Problem 5: Rough cutting / vibration
There are quite a few reasons why you may experience rough cutting – here we’re going to focus on the common ones, which usually cause vibration, rattling or other noises. These five causes of rough cutting are caused by something being loose or out of alignment.
1. Is the stock clamped securely?
Turn off the machine and check your stock is securely clamped in place on each axis. You might have left one of the clamps slightly loose and this could be the cause of the problem.
2. Is the tool mounted correctly in the spindle?
Check the tool is properly mounted in the spindle without any looseness. The tool may be fitted securely and seem tight but not be perfectly centred – so remove the tool and refit it to check.
3. Is there any slack in feed linkages or gears?
Check the feed linkages and gears. Any slack movement here will cause vibration and poor cutting quality. Refer to your user manual to see how to tighten and adjust specific component parts.
4. Is the cutting angle very steep?
You might be trying to cut at an angle that exceeds the limits for your tool or the machine specifications, very steep angles may require a different tool to the one you are trying to use, even if it is correctly specified for the material you are cutting.
5. Are the bearings worn?
You may have wear in the spindle bearing, making it wobble slightly. If this is the case you will need either to tighten the bearing or replace it. Refer to your manual to find out how to do this properly on your specific machine.
Further Information
This article has given an overview of troubleshooting your mill drill machine, and to help you work through the steps required. Mill drill machines share many common features, but specific details do vary between machines. For any adjustments we recommend you read your milling drilling machine manual carefully before you start to check the exact steps required.