中文(繁體字)
 English (international)
A step by step guide to changing blades on your metal cutting band saw
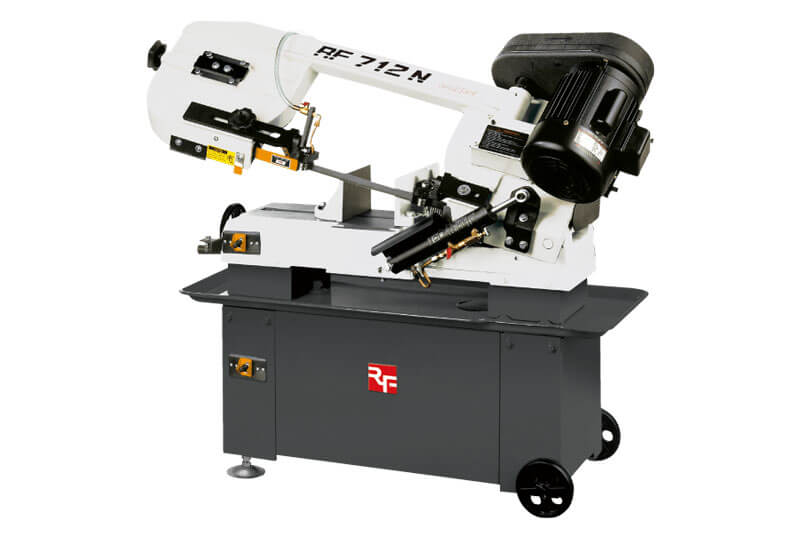
Table of Contents
Installing a blade in your metal band saw is not a difficult process, but it does require attention to detail and safety. Blade wheel and blade guide checks and adjustments are necessary after changing the blade, but these are easily done on modern metal band saws.
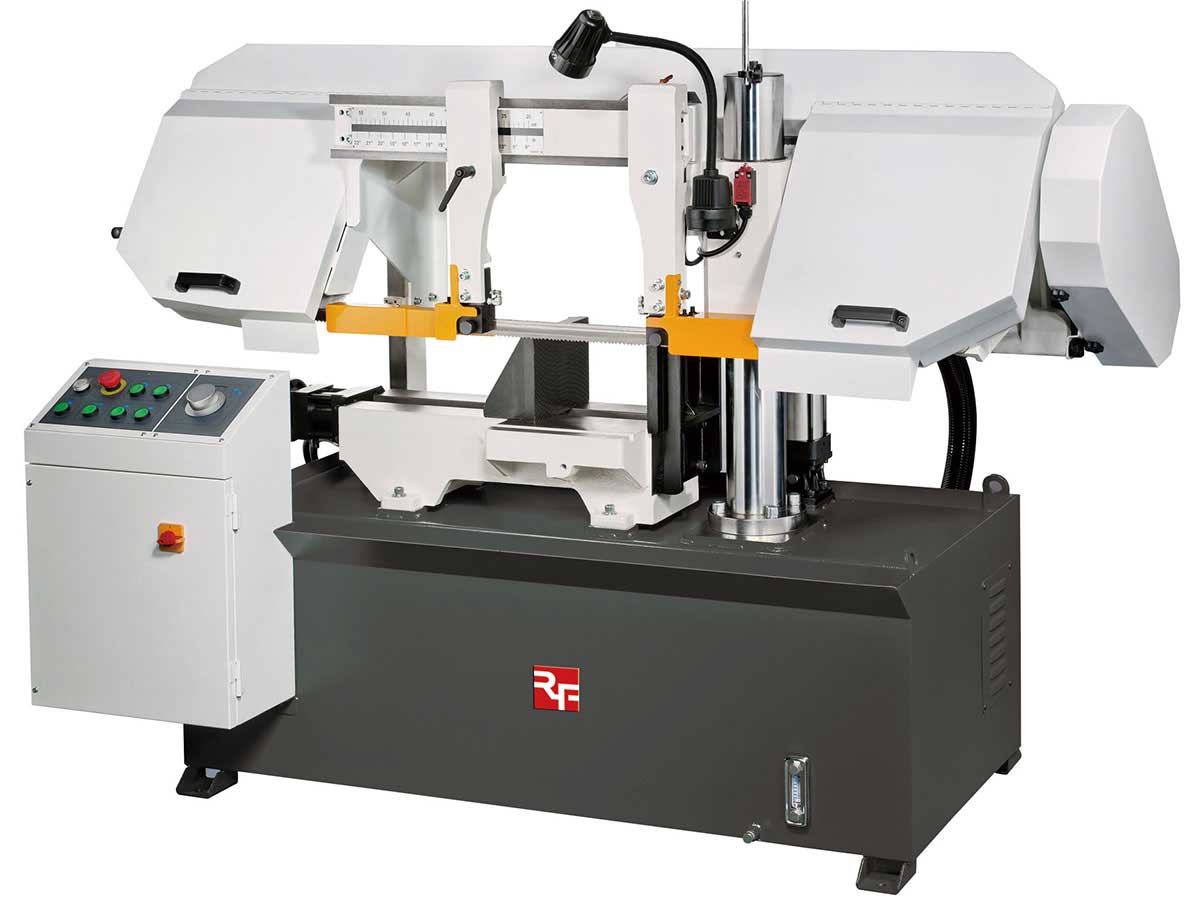
In this article we are using a RongFu RF300 metal cutting band saw to show how to perform a blade change. Most band saws follow a similar procedure, but refer to your owners manual to check the exact steps required.
This article gives an overview of how to install a blade, and is intended to help you familiarize yourself with the process. We recommend you also read your metal band saw manual carefully before attempting to fit a band saw blade.
Follow Correct Safety Procedures & Wear Protective Equipment When Using A Metal Band Saw

Follow the recommended safety procedures in your metal cutting band saw manual and ensure you are wearing the correct protective equipment while you change the blade. You must wear eye protection and we recommend good quality safety gloves as band saw blades are very sharp.
Turn Off & Unplug The Band Saw

Begin by making sure the power to the machine is off and the machine is unplugged from the electrical socket. If your band saw is permanently wired into an electrical system then follow your local safety procedure for locking the machine off and isolating it from the power supply.
If you need to isolate the power supply, this may include switching off the electrical power at the electrical box and the use of a lock or padlock to keep switches in the off position. Padlock keys are retained by the operator while they change the blade.
It is absolutely essential that it is not possible to turn the machine on accidentally while changing the blade on your metal cutting band saw.
Check For A Change In Bandsaw Blade Thickness
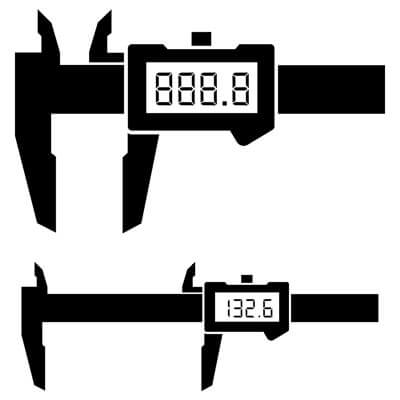
Metal band saw blades come in different thicknesses, typical blades are 25 thousandths of an inch thick, but your replacement may be 32 thousands of an inch thick. If you are unsure of the thickness of the blade you can check it by measuring with a vernier caliper.
Any change in thickness from the blade currently installed on your metal cutting bandsaw will require blade guide adjustment and may also require you to adjust the tracking to ensure the blade stays in position on the wheels.
Removing the Old Blade
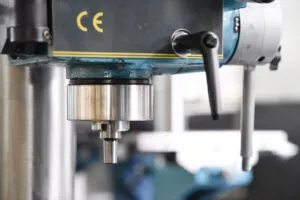
To remove the old blade you need to open the cover to get to the blade. To do this you will usually need to raise the upper arm depending on the size and type of metal cutting bandsaw. Refer to your manual for the exact procedure.
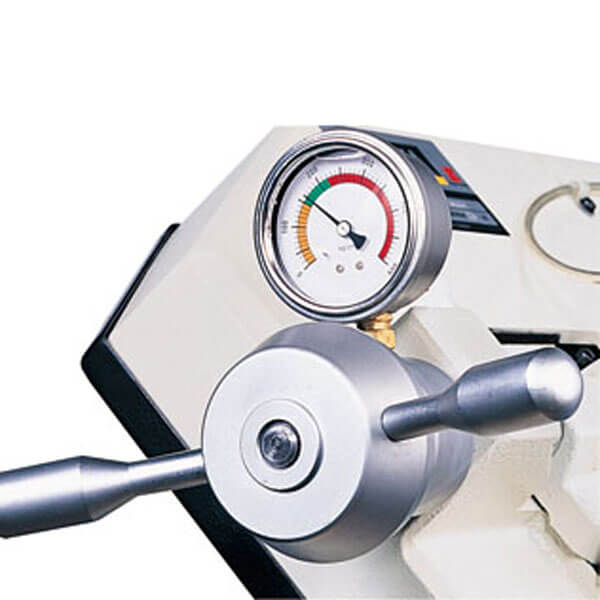
Release the tension on the blade by slackening the tension adjuster. This example, from our RF-300 series has an optional hydraulic gauge to show you how much tension the blade is under.
When you have released the tension you can remove the blade from the machine by easing it out of the blade guides and off the wheels. Be very careful when handling the blade to avoid possible injury.
Adjusting Blade Guides
The blade guides may need to be slightly retracted before installing the new blade, and always if you are fitting a wider blade. You will usually find only one side of the guide can be adjusted, and the other is fixed in position.
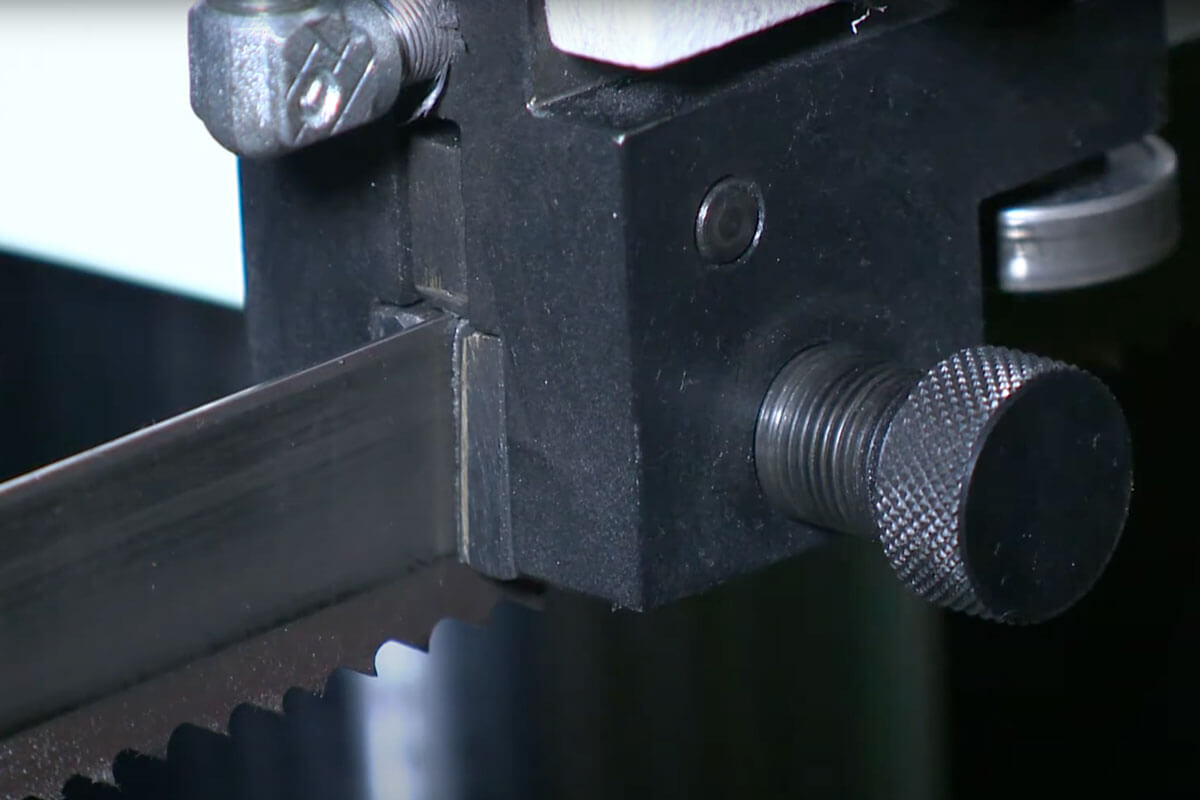
Loosen the locking nut on the adjustable side and turn the eccentric bearing mounting shaft slightly to separate the bearings on both the upper and lower guides.
New Blade Installation
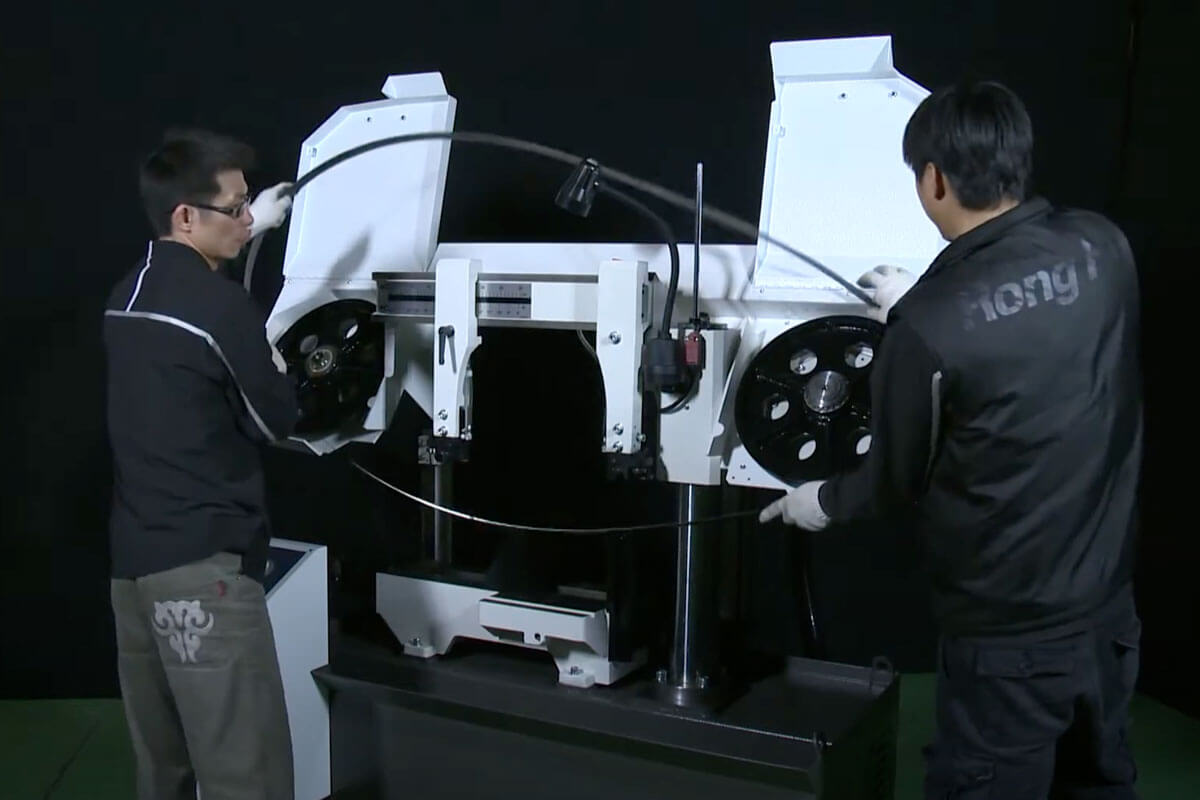
Your new blade will normally be coiled up, and you should be very careful when uncoiling the blade to make sure you don’t injure yourself. You need to uncoil the blade into a single loop.
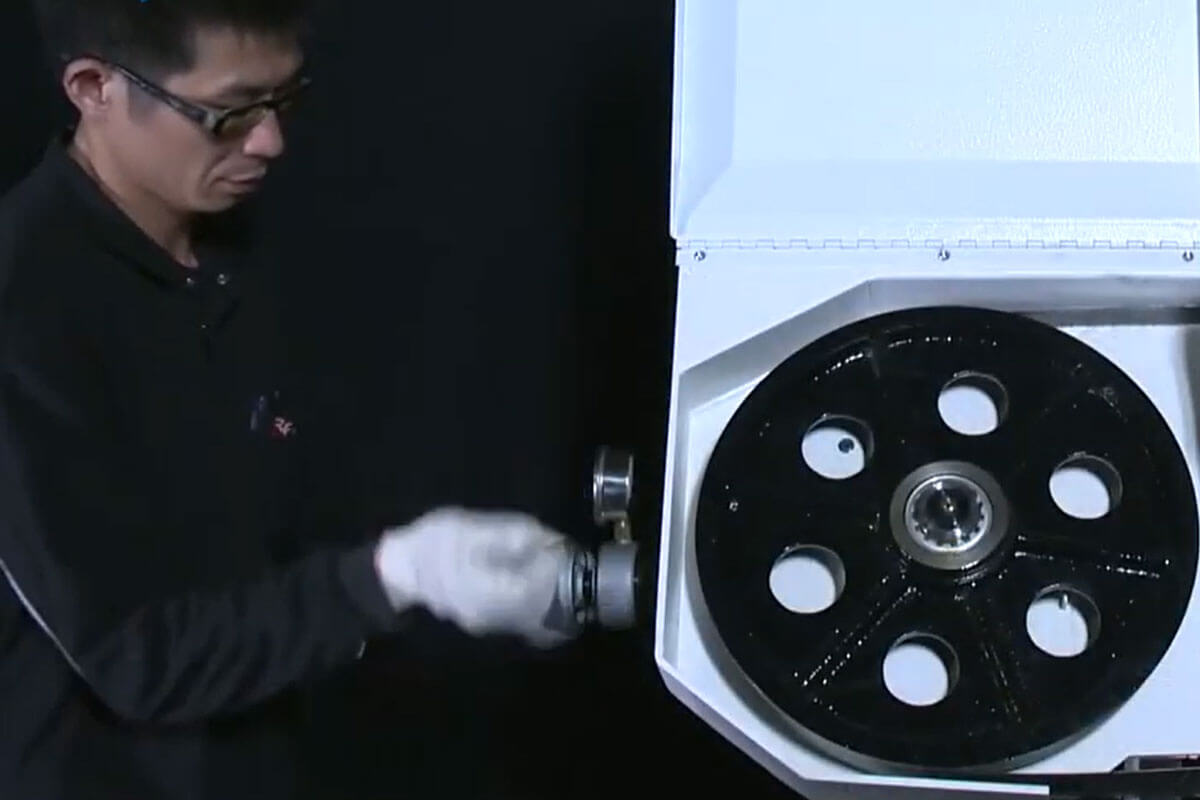
Place the blade on the wheels, ensure the blade is slotted correctly between the bearing guides, and adjust the tension just enough to keep the blade in place.
Turn Band Saw On Temporarily & Check Tracking
You will now need to restore power to the bandsaw by plugging it in or restoring the electrical supply. Stand to one side well away from the blade and turn the band saw on for a very short time, only a couple of seconds, and turn it off again. This will move the blade to it’s running position on the wheels.
Disconnect Power Before Tensioning & Adjusting The Blade
Now disconnect the power again before you move on to finish tensioning and adjusting the blade. When you are sure the power is off and the machine cannot be started, look to check that the blade is not touching the rear bearing support.
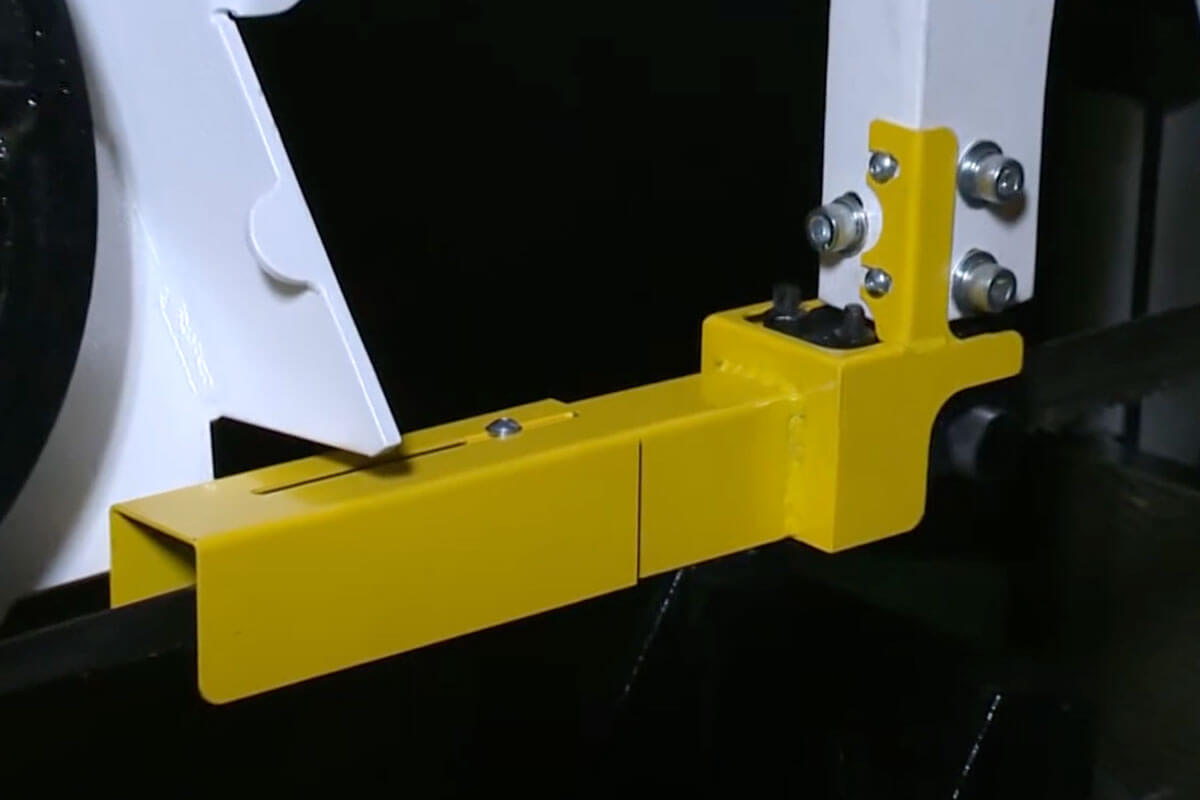
A properly tracking blade is near but not touching the back shoulder of the blade wheels. The blade should be approximately one sixteenth of an inch away from the rear bearing.
Adjusting The Bearing Guides
To ensure the bearing guides are properly adjusted, you need to start by having the bearings touching the blade, this will keep the blade straight and give you the most accurate cuts.
Adjust the eccentric shaft so the bearing fully touches the blade and then tighten the locking nut. You will have the setting correct when the bearing is touching but you are still able to turn the bearing with your fingers without the blade turning as well.
Checking & Adjusting Band Saw Blade Tracking
A properly tracked blade will be touching but not pushing up hard against the lip on the back side of the blade wheels. If the blade rides forward it may come off the wheels, so tracking adjustment is very important. You can easily check this visually to see if there is a gap between the back of the blade and the wheel lip.
If there is, make a slight tracking adjustment to move it so it just contacts the lip. Don’t over adjust the tracking, as this will cause wear to the wheels and blade, increase friction and reduce machine efficiency.
Replace Guards, Close Covers, Lower & Lock the Upper Arm
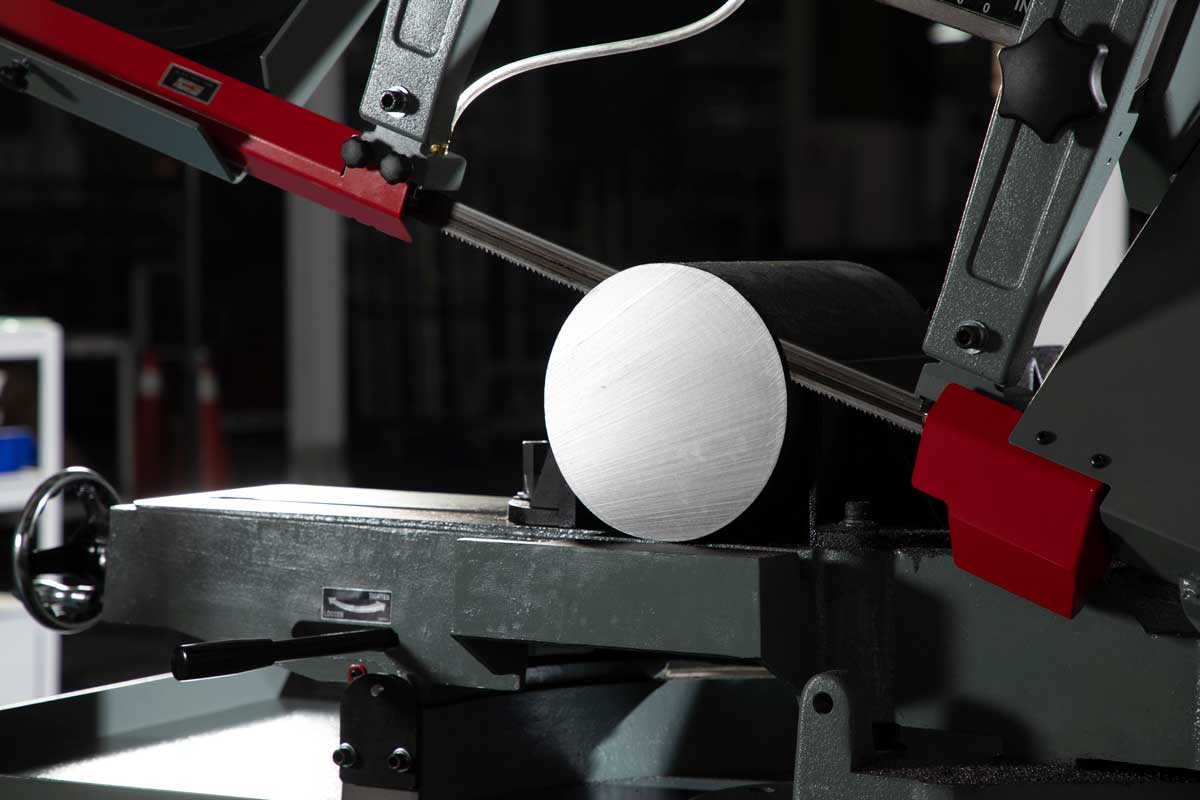
Close the blade covers, ensuring all protective guards are replaced in position and securely fastened, then lower and lock the upper arm in position above the piece to be cut. You can now adjust both the upper and lower guides to move the blade close to the work being cut, but not so close that it touches.
Start Cutting WIth Your New Blade
Turn the machine on and you are ready to start cutting!