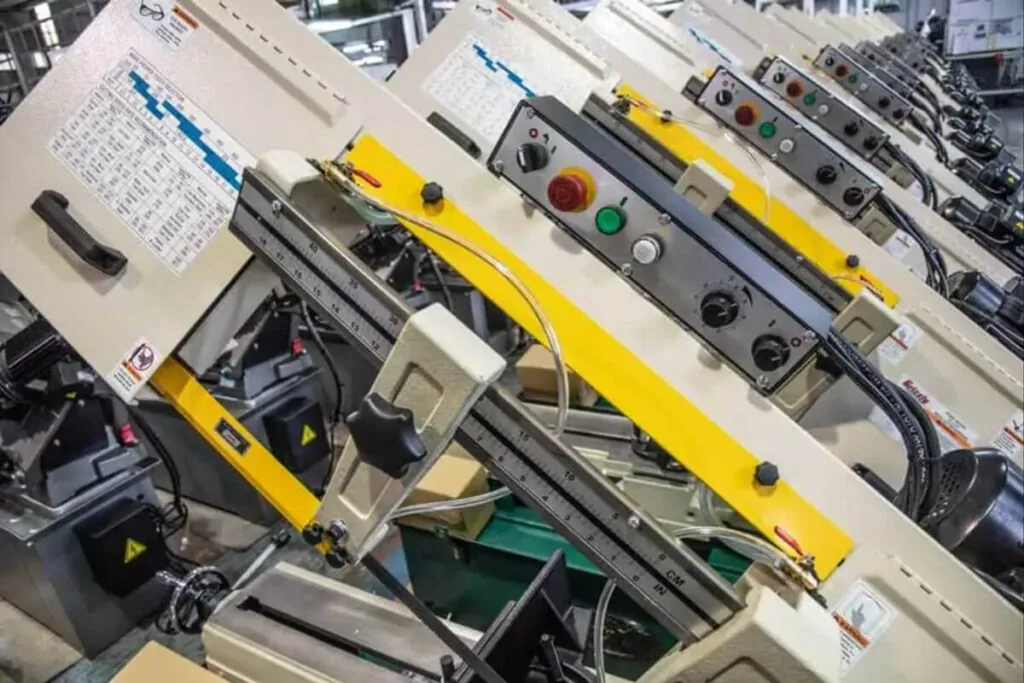
Definition of Band Saw Repeatability Accuracy
Why it matters for Band Saw and Mill Drill Machines
Related Terms
Cutting Tolerance, Positioning System, Encoder Resolution, Backlash Compensation, Length Stop, Hydraulic FeedFAQ
How consistent is cut accuracy across long production runs?
Band saw repeatability accuracy across long production runs depends on machine construction, maintenance condition, and environmental stability. Premium automatic band saws with servo positioning maintain ±0.003 inches repeatability over thousands of consecutive cuts when properly maintained. Standard hydraulic machines achieve ±0.010 to ±0.015 inches under stable conditions. Accuracy degrades during extended runs as thermal expansion affects machine geometry and hydraulic fluid temperature rises. Material handling fixtures wear, introducing positioning variation. Blade dulling changes cutting forces that affect length consistency. Maintaining repeatability requires controlled ambient temperature, regular blade changes, fixture inspection, and hydraulic system monitoring. Statistical sampling during production identifies drift before accumulated variation produces out-of-tolerance parts.
What machine features improve band saw repeatability accuracy for automated production?
Several machine features enhance band saw repeatability accuracy for automated production environments. Servo-driven positioning systems with high-resolution encoders provide precise, repeatable material placement without hydraulic variation. Ball screw or rack-and-pinion drives eliminate backlash that introduces positioning uncertainty. Rigid material handling fixtures with positive clamping prevent workpiece shift during cutting. Thermal compensation algorithms adjust positioning based on measured temperature changes. Automatic blade tension monitoring maintains consistent cutting forces throughout production. Programmable feed rate control adapts cutting parameters to material variations. Length measurement feedback systems verify actual cut dimensions and trigger alerts when repeatability degrades. These features collectively support unattended production with documented process capability meeting industrial quality standards.
How should operators verify band saw repeatability accuracy during machine qualification?
Verifying band saw repeatability accuracy requires structured testing under controlled conditions. Prepare test material with consistent cross-section and mechanical properties to eliminate material variation. Program a representative cut length and execute minimum 30 consecutive cuts without adjustment. Measure each piece using calibrated instruments with resolution exceeding required tolerance by 10:1 ratio. Calculate mean dimension, standard deviation, and range. Repeatability equals ±3 standard deviations, representing 99.7% confidence interval. Compare results against manufacturer specifications and application requirements. Repeat testing at multiple length settings to verify consistency across the operating range. Document ambient temperature, blade condition, and hydraulic temperature during testing to establish baseline conditions for future comparison and troubleshooting reference.

